11 | モデルからデータを抽出して表示 << [ホーム]
写真ボタンを押すと、それぞれの写真詳細ページにジャンプするようにします。
ビューに写真の詳細ページ用の新しいメソッドを追加します。
「testapp/views.py」ファイルを以下のように編集します。
記述追加 【testapp/views.py】34行目から
from django.shortcuts import render
from .models import Picture

# Create your views here.
def home(request):
    # picture_data = "テスト写真"
    # picture_data = [
    #     {
    #         "name": "写真01",
    #          "date": "2013"

    #     },
    #     {
    #         "name": "写真02",
    #          "date": "2014"

    #     },
    #     {
    #         "name": "写真03",
    #          "date": "2015"

    #     },
    # ]
    picture_data = Picture.objects.all()
    # picture_data = Picture.objects.filter(star__gt=2, date__gt=2015)

    return render(request, 'home.html', {"picture": picture_data})

# 問い合わせ
def inquiry(request):
    return render(request, 'inquiry.html', {})

# 写真詳細ページ
def picture(request, picture_id):
    #Pictureモデルのidと渡されたpicture_idが一致しているオブジェクトを抽出し、picture_dataに格納する
    picture_data = Picture.objects.get(id = picture_id)
    return render(request, 'picture.html', {"picture": picture_data})
Pathを通します。
「testproject/urls.py」ファイルを以下のように編集します。
記述追加 【testproject/urls.py】24行目
"""testproject URL Configuration

The `urlpatterns` list routes URLs to views. For more information please see:
    https://docs.djangoproject.com/en/4.0/topics/http/urls/
Examples:
Function views
    1. Add an import:  from my_app import views
    2. Add a URL to urlpatterns:  path('', views.home, name='home')
Class-based views
    1. Add an import:  from other_app.views import Home
    2. Add a URL to urlpatterns:  path('', Home.as_view(), name='home')
Including another URLconf
    1. Import the include() function: from django.urls import include, path
    2. Add a URL to urlpatterns:  path('blog/', include('blog.urls'))
"""
from django.contrib import admin
from django.urls import path
from testapp import views

urlpatterns = [
    path('admin/', admin.site.urls),
    path('', views.home),
    path('inquiry', views.inquiry, name = 'inquiry'), #問い合わせ
    path('picture/<int:picture_id>', views.picture, name='picture'), #写真詳細ページ
]
「templates」フォルダに新しく「picture.html」ファイルを作成します。
新規作成した「testapp/templates/picture.html」ファイルを以下のように編集します。
新規作成 【testapp/templates/picture.html】
<!-- レイアウトファイルの読み込み-->
{% extends 'layout.html' %}

<!-- タイトル -->
{% block title %}
<title>{{ picture.name }} | 写真詳細</title>

{% endblock %}

<!-- コンテンツ -->
{% block content %}

<div class="row mt-5">
  <div class="card" style="width: 18rem">
    <img src="https://{{picture.file_category}}" />

    <div class="card-body">
      <h4>{{ picture.name }}({{picture.date}})</h4>
    </div>
  </div>
</div>

{% endblock %}
ホームページの写真詳細リンクを作ります。
「testapp/templates/home.html」ファイルを以下のように編集します。
記述変更 【testapp/templates/home.html】28行目
<!-- レイアウトファイルの読み込み-->
{% extends 'layout.html' %}

<!-- タイトル -->
{% block title %}
<title>テストアプリ</title>
{% endblock %}

<!-- コンテンツ -->
{% block content %}
<h3 class="mt-5 text-center">ホームページ</h3>

<div class="row mt-5">
  {% for m in picture %}

  <div class="col-sm">
    <div class="card" style="width: 18rem">
      <img src="https://{{m.file_category}}" class="card-img-top" />
      <div class="card-body">
        <h5 class="card-title">{{ m.name }}</h5>
        {% if m.star > 3 %}
        <span class="badge bg-danger">激アツ</span>
        {% else %}
        <span class="badge bg-warning text-dark">まあまあ</span>
        {% endif %}

        <p class="card-text">{{ m.description }}</p>
        <a href="{% url 'picture' m.id %}" class="btn btn-primary">写真詳細</a>
      </div>
    </div>
  </div>

  {% endfor %}
</div>

{% endblock %}
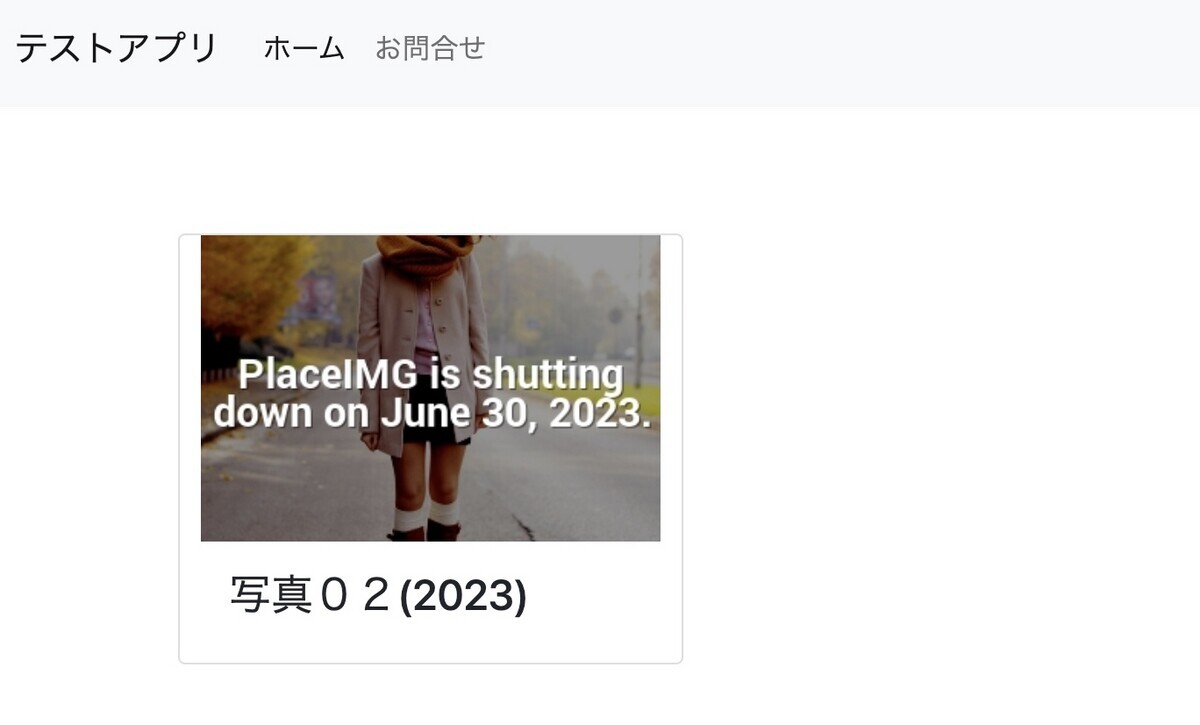
写真詳細ページを確認します。
↓↓クリックして頂けると励みになります。
11 | モデルからデータを抽出して表示 << [ホーム]