<<前 [TOP] 次>>
これから作成するコントローラは、商品を買い物出来るようにするもので、名前を「marketコントローラ」とします。
新しいコントローラをジェネレータで作成するにはコマンドプロンプトで、「shop」フォルダに移動して「rails generate controller market index」と入力します。
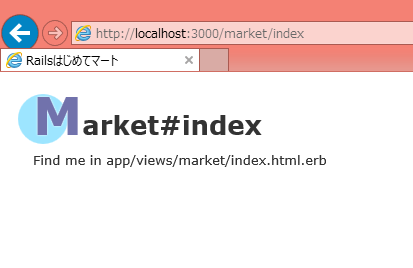
「cartsコントローラ」に付属するビュー「index」も同時に作成しました。

これで「http://localhost:3000/market/index」というURLでアクセスできるよう自動設定されています。

アクセスしやすくなるように「http://localhost:3000/market/index」のアドレスをrootの設定に変更します。
「config」フォルダにある「routes.rb」ファイルを以下のように編集します。
【config/routes.rb】
Rails.application.routes.draw do
  get 'market/index'

  resources :goods

  root :to => 'market#index', as: 'market'

  # The priority is based upon order of creation: first created -> highest priority.
  # See how all your routes lay out with "rake routes".

  # You can have the root of your site routed with "root"
  # root 'welcome#index'

  # Example of regular route:
  #   get 'products/:id' => 'catalog#view'

  # Example of named route that can be invoked with purchase_url(id: product.id)
  #   get 'products/:id/purchase' => 'catalog#purchase', as: :purchase

  # Example resource route (maps HTTP verbs to controller actions automatically):
  #   resources :products

  # Example resource route with options:
  #   resources :products do
  #     member do
  #       get 'short'
  #       post 'toggle'
  #     end
  #
  #     collection do
  #       get 'sold'
  #     end
  #   end

  # Example resource route with sub-resources:
  #   resources :products do
  #     resources :comments, :sales
  #     resource :seller
  #   end

  # Example resource route with more complex sub-resources:
  #   resources :products do
  #     resources :comments
  #     resources :sales do
  #       get 'recent', on: :collection
  #     end
  #   end

  # Example resource route with concerns:
  #   concern :toggleable do
  #     post 'toggle'
  #   end
  #   resources :posts, concerns: :toggleable
  #   resources :photos, concerns: :toggleable

  # Example resource route within a namespace:
  #   namespace :admin do
  #     # Directs /admin/products/* to Admin::ProductsController
  #     # (app/controllers/admin/products_controller.rb)
  #     resources :products
  #   end
end
「root :to => 'market#index', as: 'market'」という記述を追加しています。
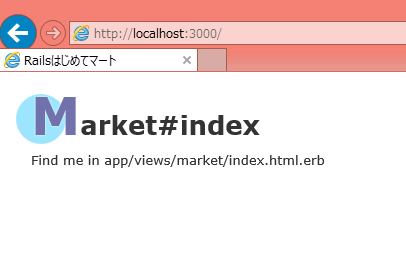
これにより「http://localhost:3000/」というアドレスで「http://localhost:3000/market/index」にアクセスすることが出来るようになりました。
「as: 'market'」と指定することで「maeket_path」というメソッドが作成されます。
では「http://localhost:3000/」というアドレスでアクセスしてみます。

marketsコントローラの実装です。
【app/controllers/markets_controller.rb】
class MarketController < ApplicationController

  def index

	@goods = Good.select_shop

	respond_to do |format|
 		format.html
		format.json { render :xml => @good }
	end
  end

end
次の記述を見て下さい。
Good.select_shop
「select_shop」メソッドはまだ実装されていません。この「select_shop」メソッドをGood.rbモデルに追加します。
「models」フォルダにある「good.rb」にitemsメソッドを実装します。
【app/models/good.rb】
class Good < ApplicationRecord

	validate :price_validate

	#Railsで標準で用意されている検証メソッド
	#指定されたフィールドが存在し、その内容が空でないことを確認。
	validates_presence_of :title, :image_url, :maker, :category,
	:message => "が空の状態で保存することは出来ません。"

	#priceフィールドに数字か入力されているか検証。
	validates_numericality_of :price,
	:message => "が有効な数値ではありません。"

	#titleフィールドに保存しようとする名称が存在していないかどうかを確認。
	validates_uniqueness_of :title,
	:message => "はすでに存在しています。"

	#フィールドの値が正規表現に一致するかどうかをチェック。
	#.gif,.jpg,.pngのどれかで終わっていることを確認。
	validates_format_of :image_url,
	:with => /\a|\.jpg$|\.png$|\.gif$\z/,
	:message => "はGIF,JPG,PNG画像でなければなりません。"

	#商品の価格が正の数であることを確認する。
	#価格フィールドが空でないときだけチェックをする。
	protected
	def price_validate
		errors.add(:price, "は0より大きくなければなりません。") unless price.nil? || price > 0.0
	end

	def self.select_shop
		where("date <= ?","now()").order(title: "ASC")
	end

end
追加したのは以下の部分です。
def self.select_shop
	where("date <= ?","now()").order(title: "ASC")
end
whereメソッドを使用して条件に一致するデータを取得しています。
「"date <= ?","now()"」の条件は「date」フィールドの登録日が未来の日付でないことをチェックしています。
「?」の部分が「now()」に置き換わります。
現在の日付を調べるために、now関数を使用しています。
orderメソッドでは、商品の名前順に表示するよう「ASC」を使用して昇順にソートしています。
降順にソートする場合は「DESC」を使用します。
「views/markets」フォルダの「index.html.erb」を実装します。
【app/views/markets/index.html.erb】
<% if notice %>
<p id="notice"><%= notice %></p>
<% end %>
<br>
<h1>Railsはじめてマート</h1>
<h2>      Railsで楽しくお買い物♪</h2>
<br>
<%= link_to 'カートを表示', market_path, class: 'btn' %>
<br>
<br>
<table>
    <tr>
      <th></th>
      <th></th>
      <th></th>

    </tr>
	<% @goods.each do |good| %>
	<tr>
		<td text-align:center;>
			<img height="80" src="<%=h good.image_url %>"/>
		</td>
		<td>
			<p><font size="5">商品名:<%= good.title %></font></p>
			商品説明:<%= good.description %><br></font></p>
			分類:<%= good.category %><br>
			メーカー:<%= good.maker %><br>
			<p><font size="4">価格:<%= (good.price).to_i %>円</font></p>

		</td>
		<td>
			<%= link_to 'カートに入れる', market_path, class: 'btn' %>
		</td>
	</tr>

	<% end %>
</table>
コントローラのindexメソッドの「@goods」から商品の一覧を表示させています。
「カートに入れる」ボタンと「カートを表示」ボタンはこれからの実装になります。
ブラウザで「http://localhost:3000/」と入力して確認してみます。

↓↓クリックして頂けると励みになります。