↓↓クリックして頂けると励みになります。
【11 | ダッシュボード追加】 << 【ホーム】 >> 【13 | Font Awesomeの利用】

Googleフォントは無料で利用できます。
商用プロジェクトや個人のウェブサイトにも適しており、予算に制約のある場合でも利用できます。
また、Googleフォントは、数百もの異なるフォントを提供しており、それらはさまざまなスタイルや用途に適しています。
ウェブサイトやプロジェクトに最適なフォントを見つけるのが比較的容易です。
Googleフォントは多くのデザイナーやウェブ開発者にとって便利なツールであり、ウェブプロジェクトの外観、パフォーマンス、アクセシビリティを向上させるのに役立ちます。
ただし、フォントの選択やカスタマイズに注意を払い、プロジェクトの要件に合わせて適切なフォントを選ぶことが重要です。
Googleフォントは以下のサイトで利用できます。
サイト
fonts.google.com
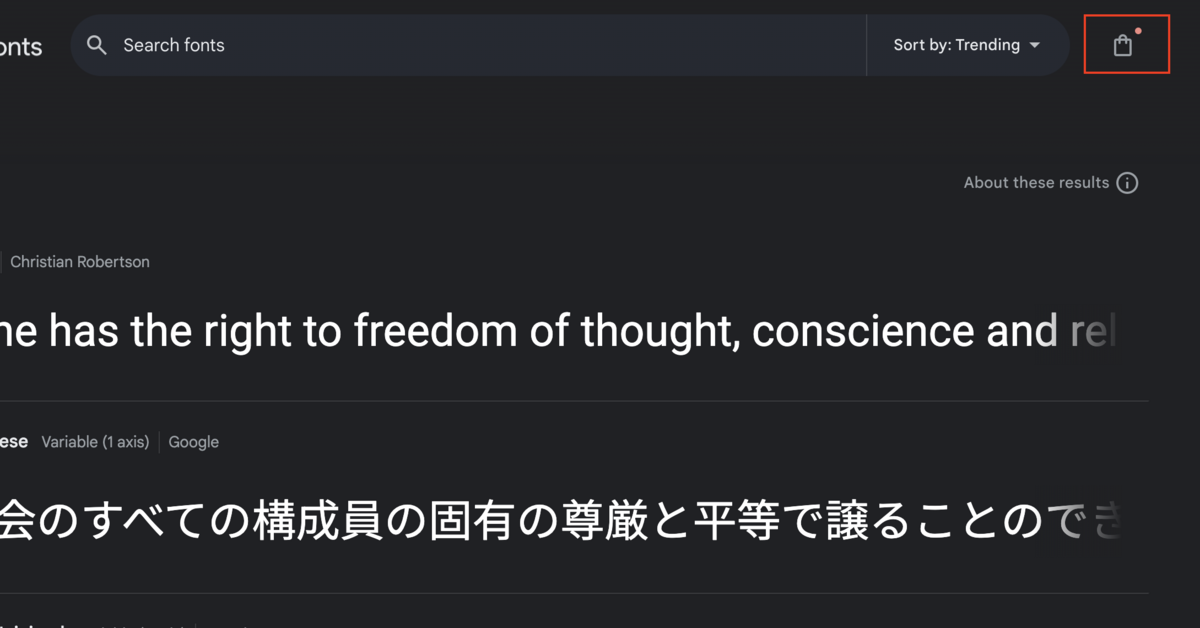
サイトを開き、右上の買い物カゴのマークをクリックします。

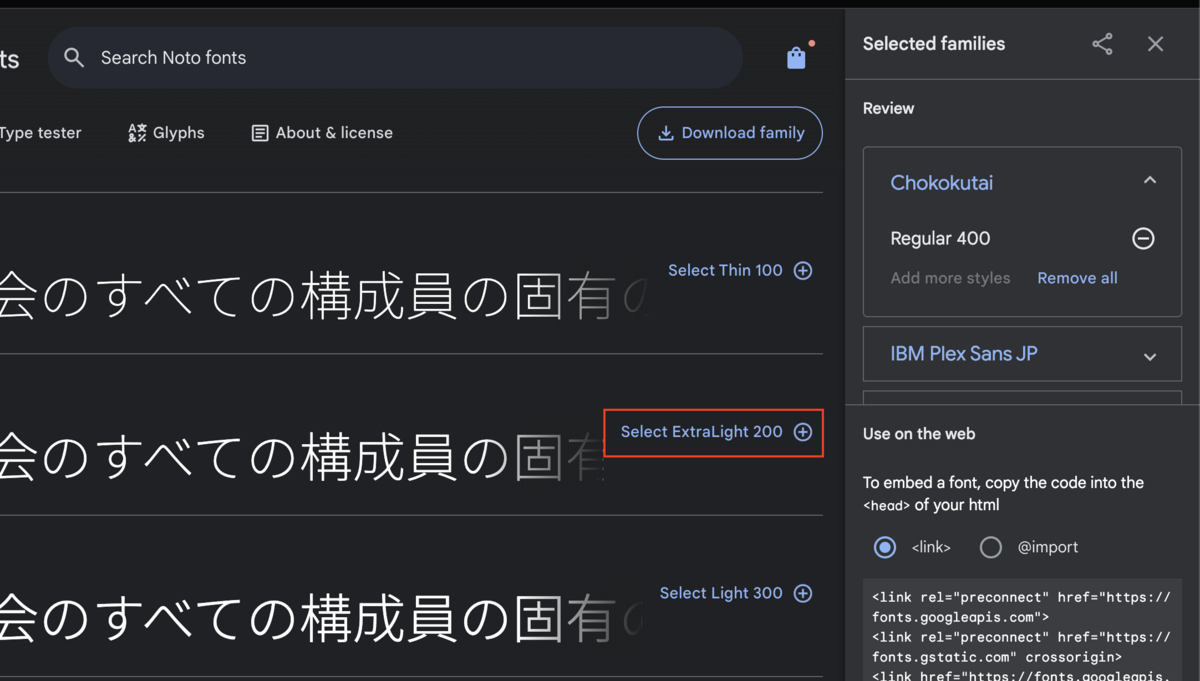
使用したいFontとサイズの部分で「select」をクリックし、Reviewに追加します。
何個追加しても大丈夫です。

「Selected families」の下部にある「link」をコピーします。

「app/views/layouts/application.html.erb」ファイルのheadタグ内にlinkのコピーを貼り付けます。
    <!-- Google Fonts -->
    <link rel="preconnect" href="https://fonts.googleapis.com">
    <link rel="preconnect" href="https://fonts.gstatic.com" crossorigin>
    <link href="https://fonts.googleapis.com/css2?family=Kaisei+Opti&family=Kosugi+Maru&family=Rampart+One&display=swap" rel="stylesheet">
記述追加 【app/views/layouts/application.html.erb】
<!DOCTYPE html>
<html>
  <head>
    <title>GigHub7</title>
    <meta name="viewport" content="width=device-width,initial-scale=1">
    <%= csrf_meta_tags %>
    <%= csp_meta_tag %>

    <%= stylesheet_link_tag "application", "data-turbo-track": "reload" %>
    <%= javascript_importmap_tags %>

    <!-- noty3.1.4 -->
    <script src="https://cdnjs.cloudflare.com/ajax/libs/noty/3.1.4/noty.min.js" integrity="sha512-lOrm9FgT1LKOJRUXF3tp6QaMorJftUjowOWiDcG5GFZ/q7ukof19V0HKx/GWzXCdt9zYju3/KhBNdCLzK8b90Q==" crossorigin="anonymous" referrerpolicy="no-referrer"></script>
    <link rel="stylesheet" href="https://cdnjs.cloudflare.com/ajax/libs/noty/3.1.4/noty.min.css" integrity="sha512-0p3K0H3S6Q4bEWZ/WmC94Tgit2ular2/n0ESdfEX8l172YyQj8re1Wu9s/HT9T/T2osUw5Gx/6pAZNk3UKbESw==" crossorigin="anonymous" referrerpolicy="no-referrer" />

    <!-- Google Fonts -->
    <link rel="preconnect" href="https://fonts.googleapis.com">
    <link rel="preconnect" href="https://fonts.gstatic.com" crossorigin>
    <link href="https://fonts.googleapis.com/css2?family=Kaisei+Opti&family=Kosugi+Maru&family=Rampart+One&display=swap" rel="stylesheet">

  </head>

  <body>

    <!-- ナビゲーションバー -->
    <%= render  "shared/navbar" %>

    <!-- noty -->
    <%= render 'shared/notification' %>

    <%= yield %>
  </body>
</html>
「app/assets/stylesheets」フォルダにある「application.css」ファイルの拡張子に「s」をプラスして「.scss」ファイルに変更します。
変更した後のファイル名は「application.scss」です。
この「app/assets/stylesheets/application.scss」ファイルに以下の記述を追加します。
今回は3つのFontを追加します。
「font-family:」の後に、追加したFontの名前を入れてください。
body * {
    font-family: Kosugi Maru;
}

.font1 {
    font-family: Rampart One;
}

.font2 {
    font-family: Kaisei Opti;
}
記述追加 【app/assets/stylesheets/application.scss】17行目
/*
 * This is a manifest file that'll be compiled into application.css, which will include all the files
 * listed below.
 *
 * Any CSS and SCSS file within this directory, lib/assets/stylesheets, or any plugin's
 * vendor/assets/stylesheets directory can be referenced here using a relative path.
 *
 * You're free to add application-wide styles to this file and they'll appear at the bottom of the
 * compiled file so the styles you add here take precedence over styles defined in any other CSS/SCSS
 * files in this directory. Styles in this file should be added after the last require_* statement.
 * It is generally better to create a new file per style scope.
 *
 *= require_tree .
 *= require_self
 */

body * {
    font-family: Kosugi Maru;
}

.font1 {
    font-family: Rampart One;
}

.font2 {
    font-family: Kaisei Opti;
}
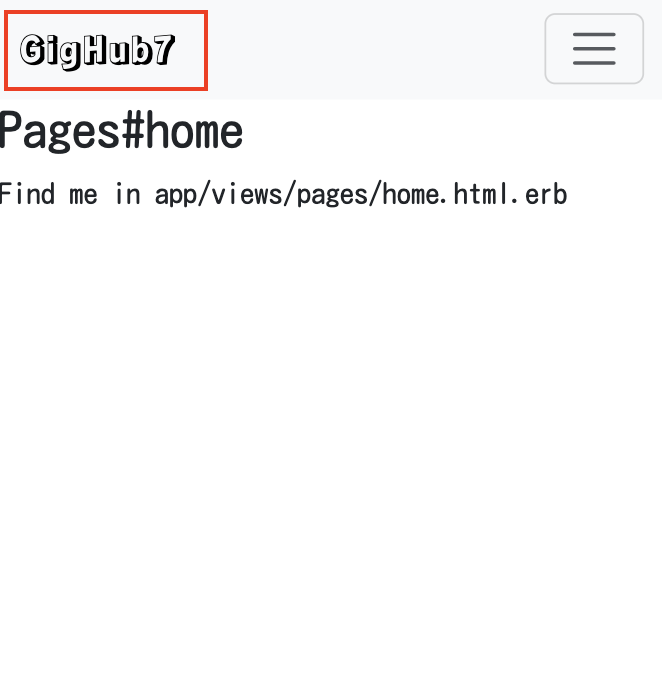
フォントを使用したいタグのクラスに設定したCSSのクラス名を入れます。
<span class="font1">Gig Hub7</span>
このようにすることで、Googleフォントを使用することができます。


【11 | ダッシュボード追加】 << 【ホーム】 >> 【13 | Font Awesomeの利用】
↓↓クリックして頂けると励みになります。