↓↓クリックして頂けると励みになります。
【02 | Rails7.1のインストール】 << 【ホーム】 >> 【04 | Bootstrap5.3の利用】
インストールしたRails7.1を使ってアプリケーションを作成します。
アプリケーション名は「VacationRental7」とします。
コマンド
rails _7.1.2_ new VacationRental7 -d postgresql

ターミナルで作成された「VacationRental7」フォルダに移動します。
コマンド
cd VacationRental7
Visual Studio Codeでディレクトリを開く
左上の「エクスプローラ」をクリックし、「開く」を選択します。
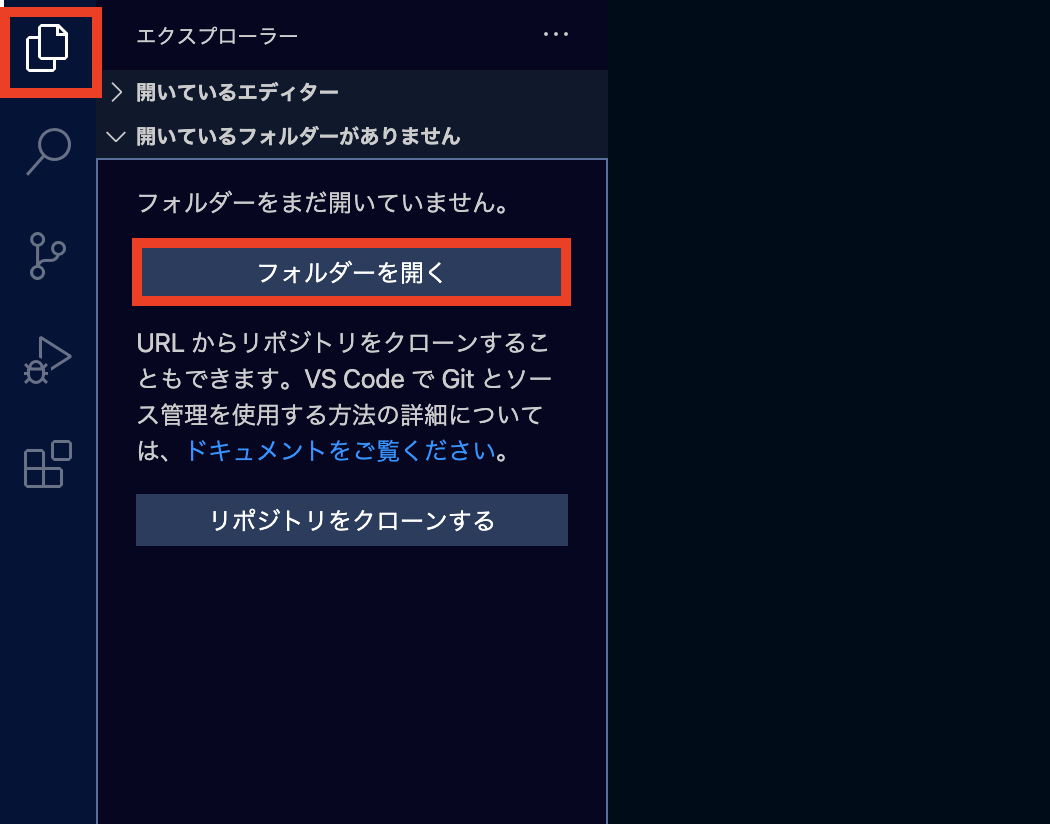
「VacationRental7」フォルダを選択します。

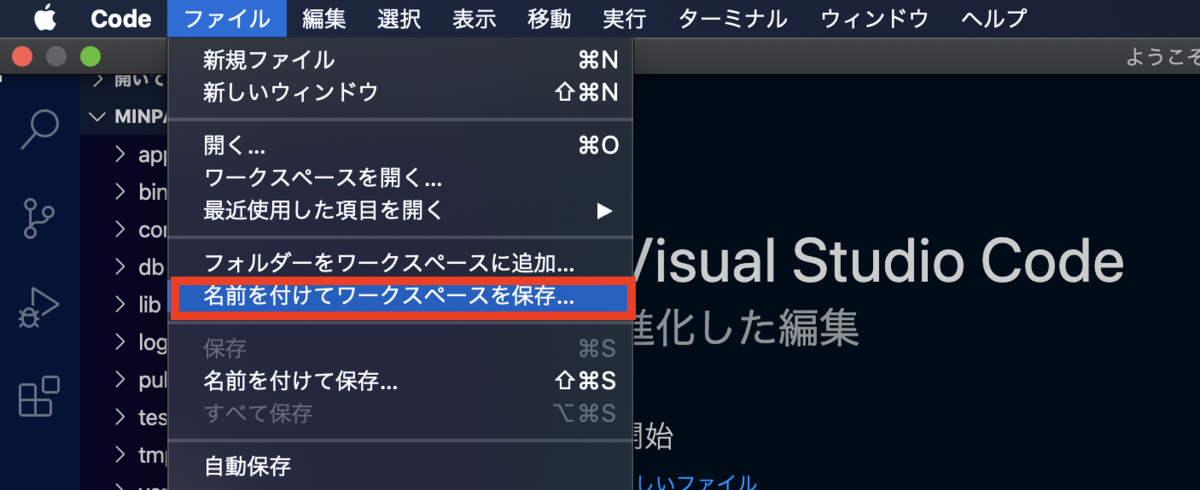
「ファイル」メニューから「名前をつけてワークスペースを保存」しておきましょう。
ワークスペースを開き直せばこれから行うGitの接続やターミナルの状態など、そのまま作業を始めることができます。
複数のアプリケーションを管理する場合に便利です。
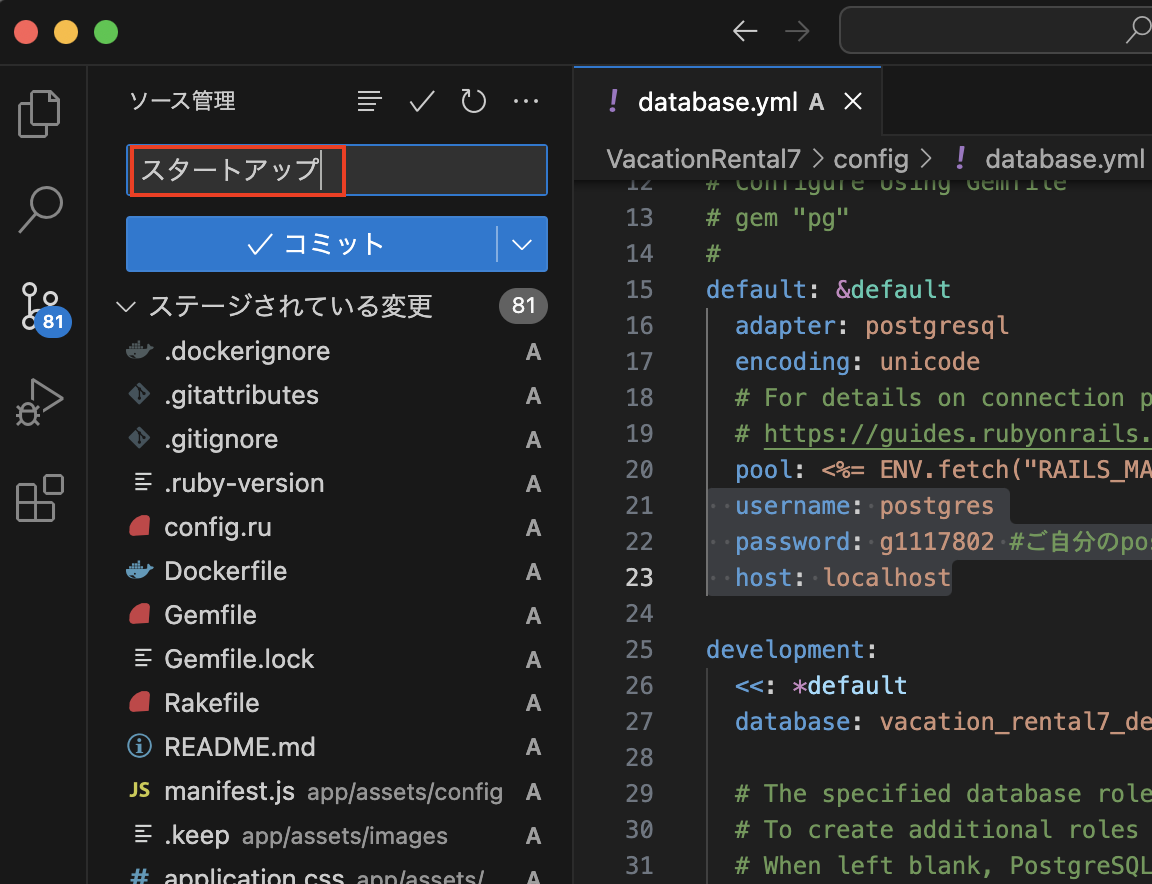
「config\database.yml」の設定
PostgresqlとRailsの接続を設定します。
「config\database.yml」を開き、以下のように設定します。
保存は「command + S」でできます。
config\database.yml(21行目~)
default: &default
  adapter: postgresql
  encoding: unicode
  # For details on connection pooling, see rails configuration guide
  # http://guides.rubyonrails.org/configuring.html#database-pooling
  pool: <%= ENV.fetch("RAILS_MAX_THREADS") { 5 } %>
  username: postgres
  password: 12345678 #ご自分のpostgres rootパスワードを入れてください
  host: localhost
PostgreSQLにデータベースを作成
コマンド
rails db:setup
Rails7から作成されるデータベースの名前付けに変更があります。
「vacation_rental7_development」のようになっていますので注意してください。
~/Desktop/Rails7_1/VacationRental7 $ rails db:setup

Created database 'vacation_rental7_development'
Created database 'vacation_rental7_test'
/Users/heyjude/Desktop/Rails7_1/VacationRental7/db/schema.rb doesn't exist yet. Run `bin/rails db:migrate` to create it, then try again. If you do not intend to use a database, you should instead alter /Users/heyjude/Desktop/Rails7_1/VacationRental7/config/application.rb to limit the frameworks that will be loaded.
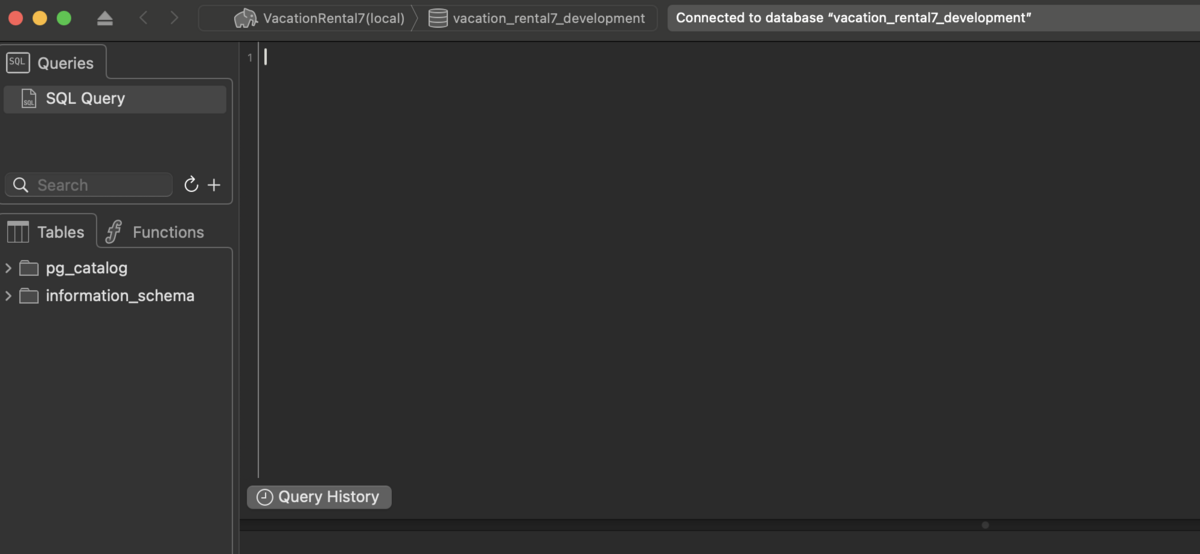
Posticoで確認します。

テーブルはまだありませんが、データベース「vacation_rental7_development」に接続できます。
Githubによるソース管理
https://github.com/にアクセスしてサインアップしましょう。
github.com
ログインしたら右上の「+」ボタンから「new repository」を選択します。
「Repository name」をつけて(今回はVacationRental7にしました。)、必ず「Private」にします。
最後に「Create repository」をクリックします。

最初に書かれているアドレスが重要です。
このアドレスをコピーします。

Visual Studio Codeでソース管理の「リポジトリの初期化」を行います。
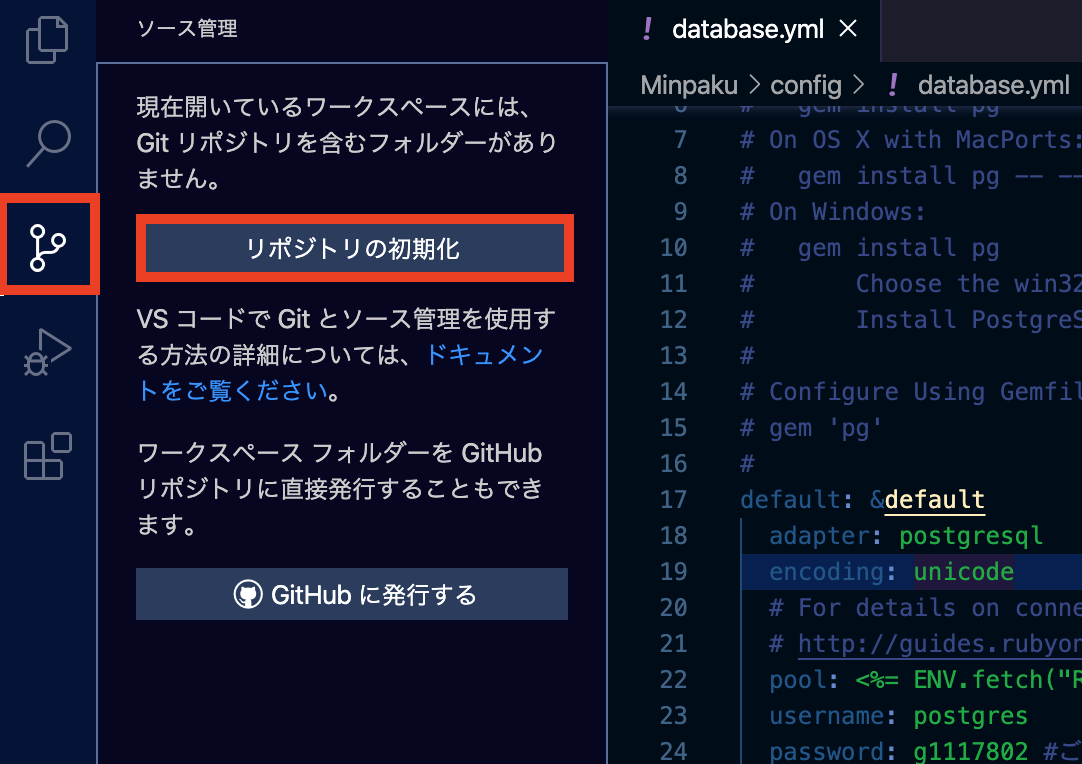
リポジトリを初期化するフォルダ「VacationRental7」を選択します。

ターミナルで次のコマンドを入力します。
「git remote add main」の後にコピーしたアドレスを入れます。
コマンド
git remote add main https://github.com/nishichin/VacationRental7.git
git remote -vコマンドで追加されているか確認します。
~/Desktop/Rails7_1/VacationRental7 $ git remote add main https://github.com/nishichin/VacationRental7.git

~/Desktop/Rails7_1/VacationRental7 $ git remote -v
main    https://github.com/nishichin/VacationRental7.git (fetch)
main    https://github.com/nishichin/VacationRental7.git (push)
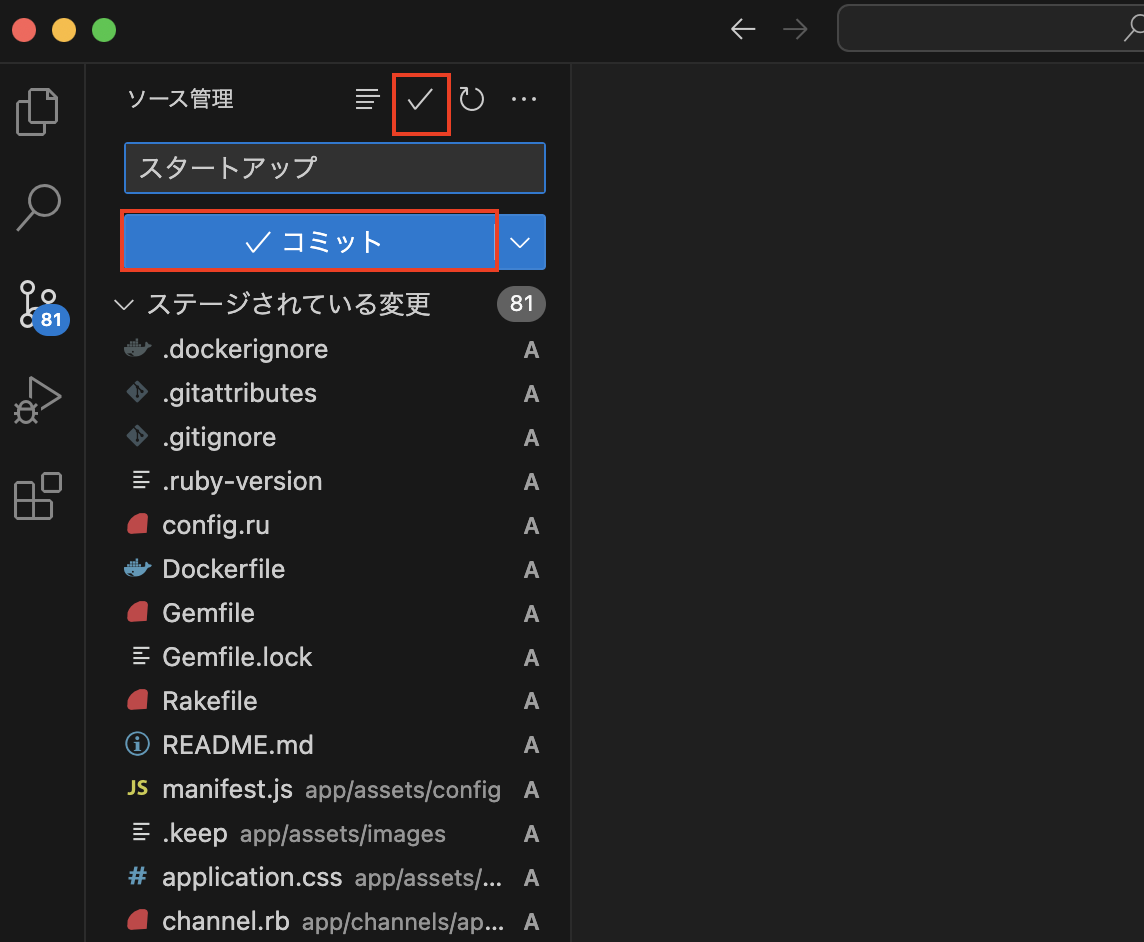
ソース管理の「変更」の右にある「+」ボタンを押します。

コミットネームを入れます。
コミットネームは自分で分かりやすい名前をつけて下さい。
上のチェックマークをクリックします。
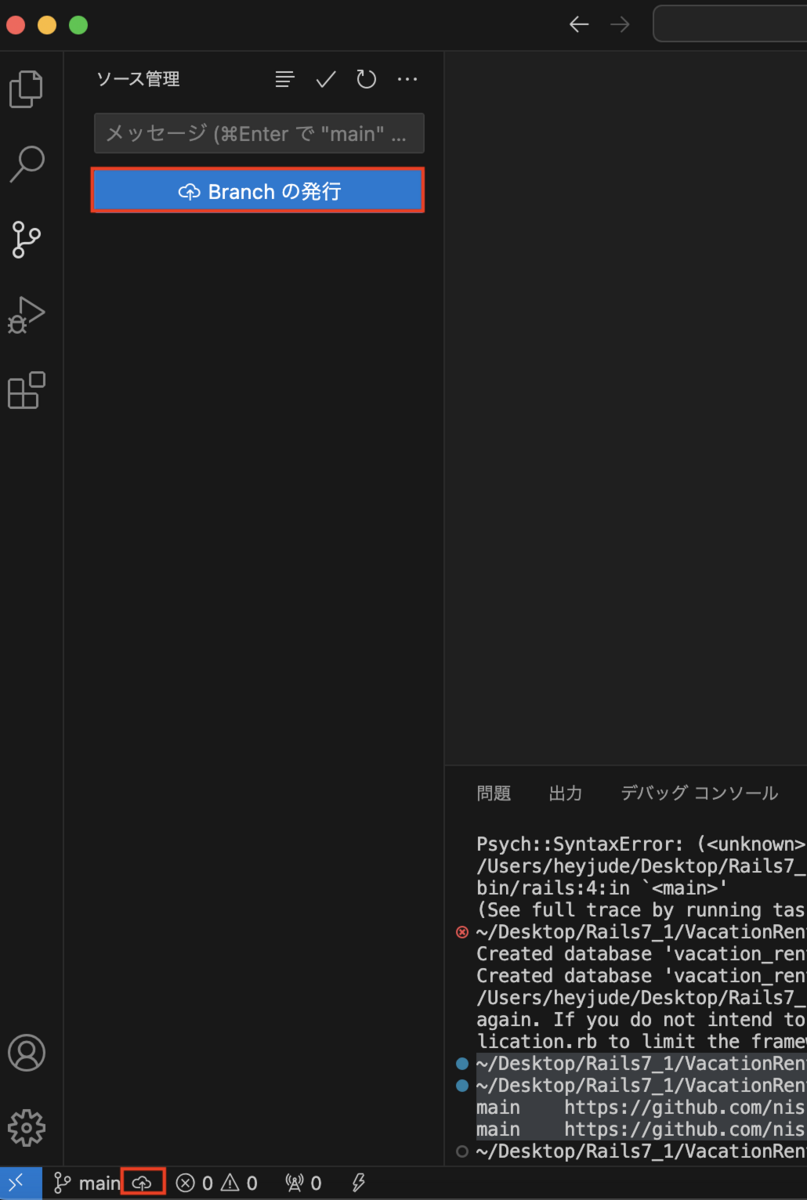
下にある雲のマークをクリックしてGitにpush(ブランチを発行)します。
自分のgithubページ「https://github.com/nishichin/VacationRental7」をリロードして確認します。

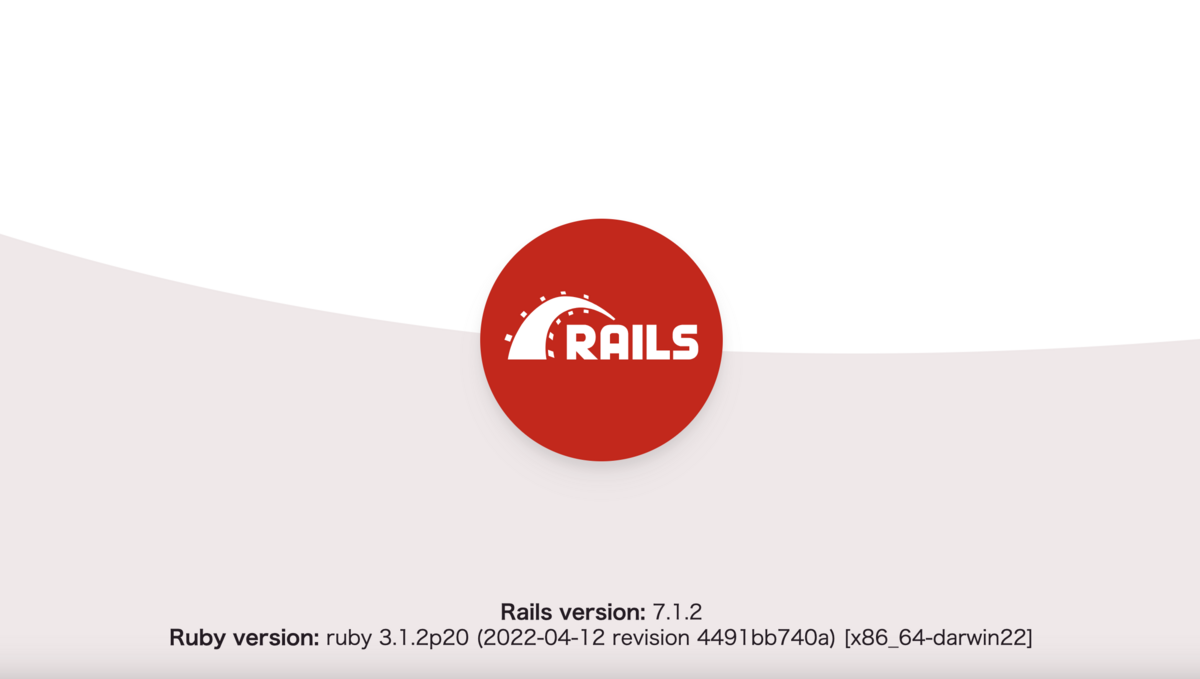
Webサーバーを起動します。
コマンド
rails s
ブラウザで確認します。
以下のアドレスを入力してブラウザを確認してください。
http://localhost:3000/
【02 | Rails7.1のインストール】 << 【ホーム】 >> 【04 | Bootstrap5.3の利用】
↓↓クリックして頂けると励みになります。