[03]Windowsでのスタートアップ << [ホームに戻る] >> [05]ナビゲーションバー(Bulma)
「Visual Studio Code」を開き、「ターミナル」の「新しいターミナル」を選択してターミナルを開きます。

下に起動したターミナルでデスクトップに移動します。
cd desktop

デスクトップに「MacRails」ディレクトリを作成してターミナルでそこに移動します。
mkdir MacRails
cd MacRails

Rails(version=6.0.3)をインストール
コマンド
(コマンドをコピーしてターミナルに貼り付けて実行してください。)
PCのパスワードを入力する必要があります。
sudo gem install rails --version=6.0.3 --no-document

HomebrewでPostgreSQLを再インストール
HomebrewでPostgreSQLを再インストールします。
コマンド
brew install postgresql
アプリケーション名「Oshigoto」を作成
コマンド
rails _6.0.3_ new Oshigoto -d postgresql --webpack
ターミナルで作成された「Oshigoto」ディレクトリに移動します。
コマンド
cd Oshigoto

Visual Studio Codeでディレクトリを開く
左上の「エクスプローラ」をクリックし、「開く」を選択します。
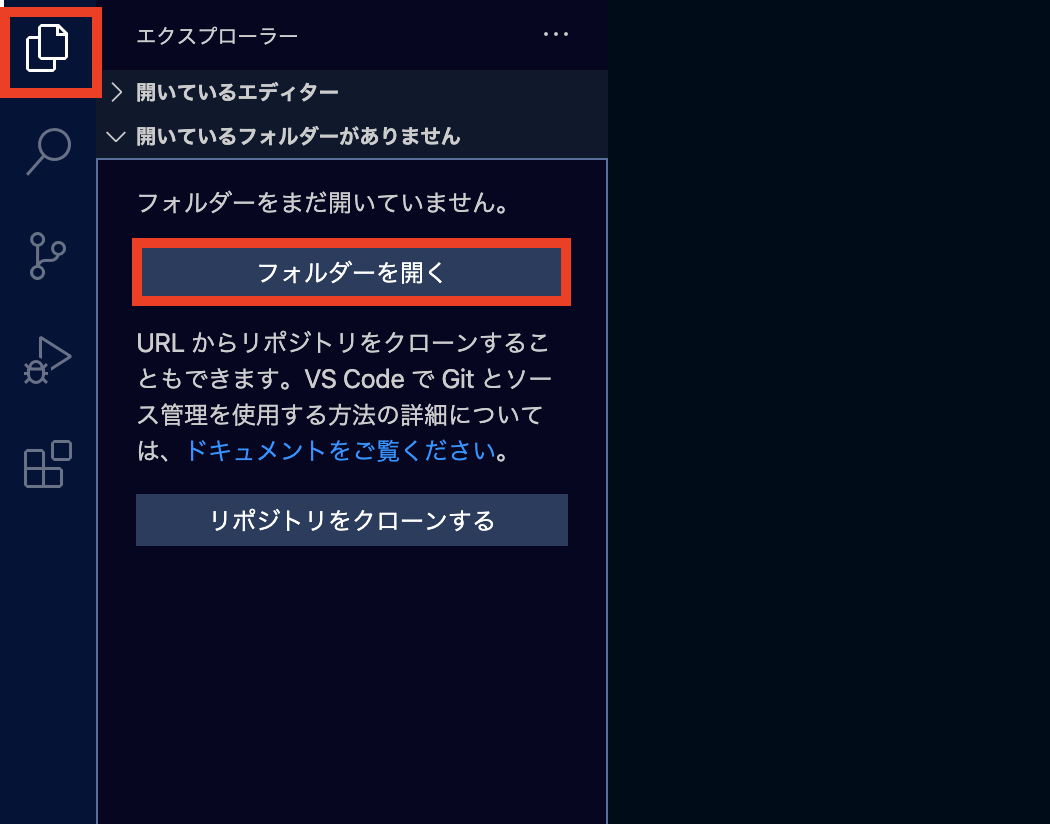
「Oshigoto」ディレクトリを選択します。

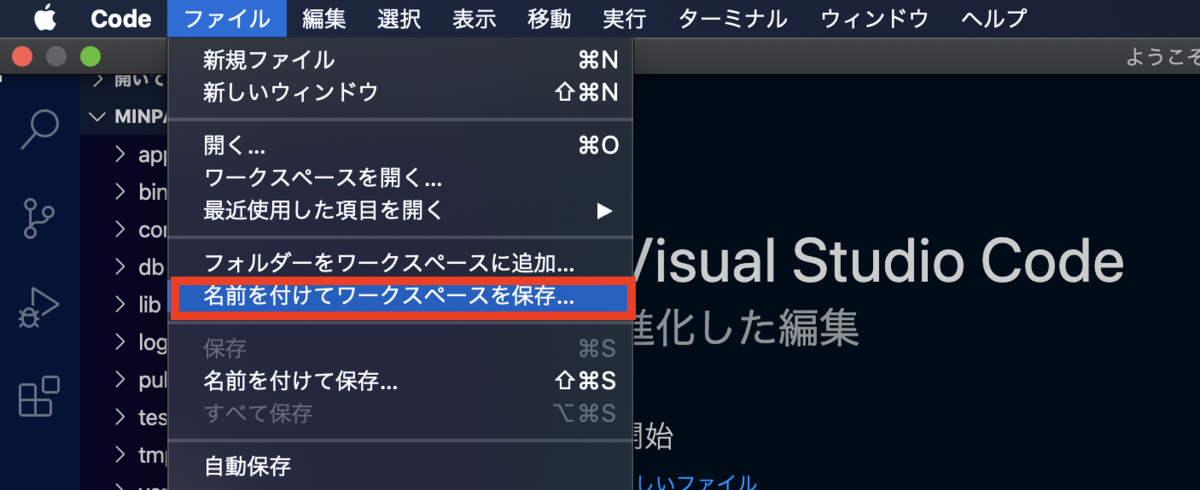
「ファイル」メニューから「名前をつけてワークスペースを保存」しておきましょう。
場所は「デスクトップ」でよいです。
ワークスペースを開き直せばこれから行うGitの接続やターミナルの状態など、そのまま作業を始めることができます。
複数のアプリケーションを管理する場合に便利です。

「config\database.yml」の設定
PostgresqlとRailsの接続を設定します。
「config\database.yml」を開き、以下のように設定します。
保存は「command + S」でできます。
config\database.yml(17行目~)
default: &default
  adapter: postgresql
  encoding: unicode
  # For details on connection pooling, see rails configuration guide
  # http://guides.rubyonrails.org/configuring.html#database-pooling
  pool: <%= ENV.fetch("RAILS_MAX_THREADS") { 5 } %>
  username: postgres
  password: #ご自分のrootパスワードを入れてください
  host: localhost
config\database.yml
# PostgreSQL. Versions 9.3 and up are supported.
#
# Install the pg driver:
#   gem install pg
# On macOS with Homebrew:
#   gem install pg -- --with-pg-config=/usr/local/bin/pg_config
# On macOS with MacPorts:
#   gem install pg -- --with-pg-config=/opt/local/lib/postgresql84/bin/pg_config
# On Windows:
#   gem install pg
#       Choose the win32 build.
#       Install PostgreSQL and put its /bin directory on your path.
#
# Configure Using Gemfile
# gem 'pg'
#
default: &default
  adapter: postgresql
  encoding: unicode
  # For details on connection pooling, see Rails configuration guide
  # https://guides.rubyonrails.org/configuring.html#database-pooling
  pool: <%= ENV.fetch("RAILS_MAX_THREADS") { 5 } %>
  username: postgres
  password: #ご自分のrootパスワードを入れてください
  host: localhost

development:
  <<: *default
  database: Oshigoto_development

  # The specified database role being used to connect to postgres.
  # To create additional roles in postgres see `$ createuser --help`.
  # When left blank, postgres will use the default role. This is
  # the same name as the operating system user that initialized the database.
  #username: Oshigoto

  # The password associated with the postgres role (username).
  #password:

  # Connect on a TCP socket. Omitted by default since the client uses a
  # domain socket that doesn't need configuration. Windows does not have
  # domain sockets, so uncomment these lines.
  #host: localhost

  # The TCP port the server listens on. Defaults to 5432.
  # If your server runs on a different port number, change accordingly.
  #port: 5432

  # Schema search path. The server defaults to $user,public
  #schema_search_path: myapp,sharedapp,public

  # Minimum log levels, in increasing order:
  #   debug5, debug4, debug3, debug2, debug1,
  #   log, notice, warning, error, fatal, and panic
  # Defaults to warning.
  #min_messages: notice

# Warning: The database defined as "test" will be erased and
# re-generated from your development database when you run "rake".
# Do not set this db to the same as development or production.
test:
  <<: *default
  database: Oshigoto_test

# As with config/credentials.yml, you never want to store sensitive information,
# like your database password, in your source code. If your source code is
# ever seen by anyone, they now have access to your database.
#
# Instead, provide the password as a unix environment variable when you boot
# the app. Read https://guides.rubyonrails.org/configuring.html#configuring-a-database
# for a full rundown on how to provide these environment variables in a
# production deployment.
#
# On Heroku and other platform providers, you may have a full connection URL
# available as an environment variable. For example:
#
#   DATABASE_URL="postgres://myuser:mypass@localhost/somedatabase"
#
# You can use this database configuration with:
#
#   production:
#     url: <%= ENV['DATABASE_URL'] %>
#
production:
  <<: *default
  database: Oshigoto_production
  username: Oshigoto
  password: <%= ENV['OSHIGOTO_DATABASE_PASSWORD'] %>
PostgreSQLにデータベースを作成
コマンド
rails db:setup
Posticoで確認します。
テーブルはまだありませんが、データベース「Oshigoto_development」に接続できます。

Githubによるソース管理
https://github.com/にアクセスしてサインアップしましょう。
サインアップとはご自分のアカウントを新規登録するという意味です。
github.com
ログインしたら右上の「+」ボタンから「new repository」を選択します。
「Repository name」をつけて(今回はMacOshigotoにしました。)、必ず「Private」にします。
最後に「Create repository」をクリックします。

最初に書かれているアドレスが重要です。
このアドレスをコピーします。

Visual Studio Codeでソース管理の「リポジトリの初期化」を行います。
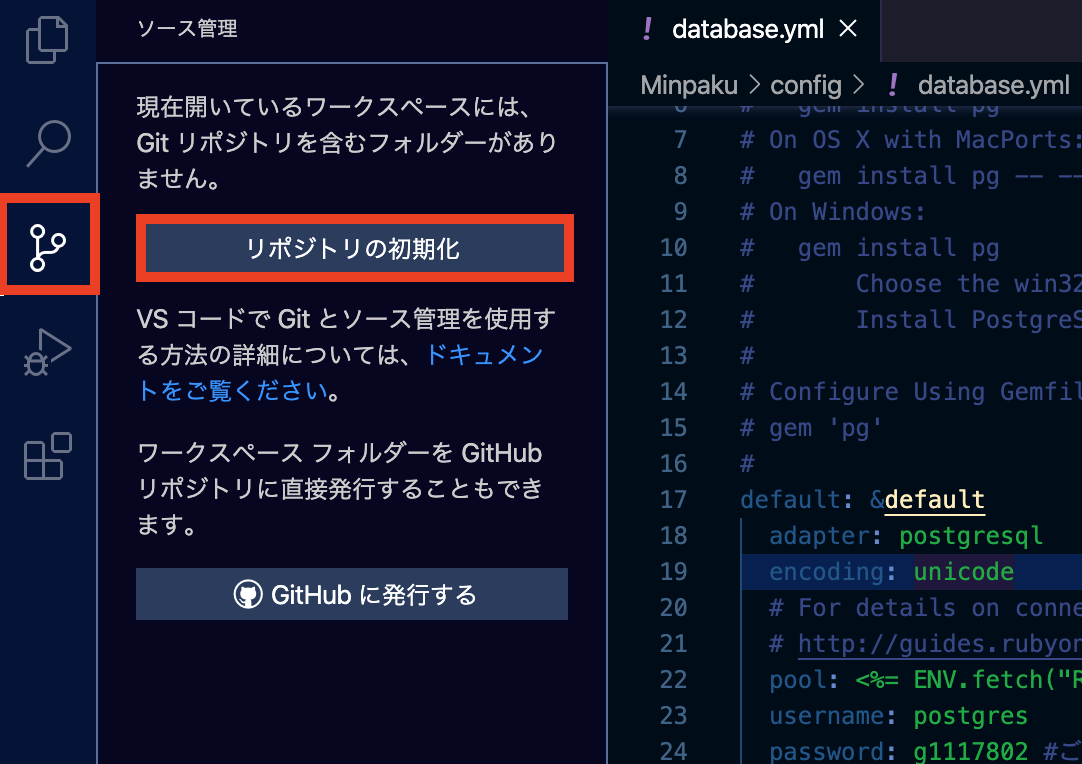
リポジトリを初期化するフォルダ「Oshigoto」を選択します。

ターミナルで次のコマンドを入力します。
「git remote add origin」の後にコピーしたアドレスを入れます。
コマンド
git remote add origin https://github.com/asakimi/MacOshigoto.git
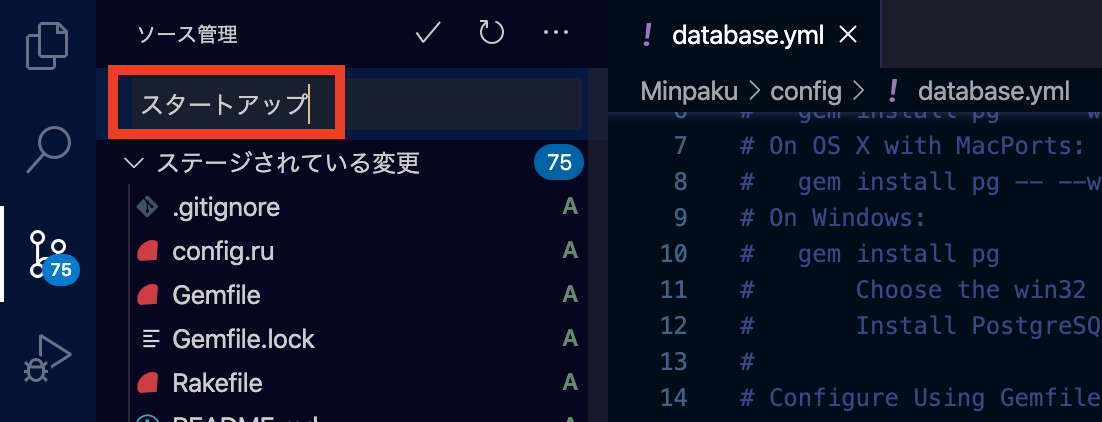
ソース管理の「変更」の右にある「+」ボタンを押します。
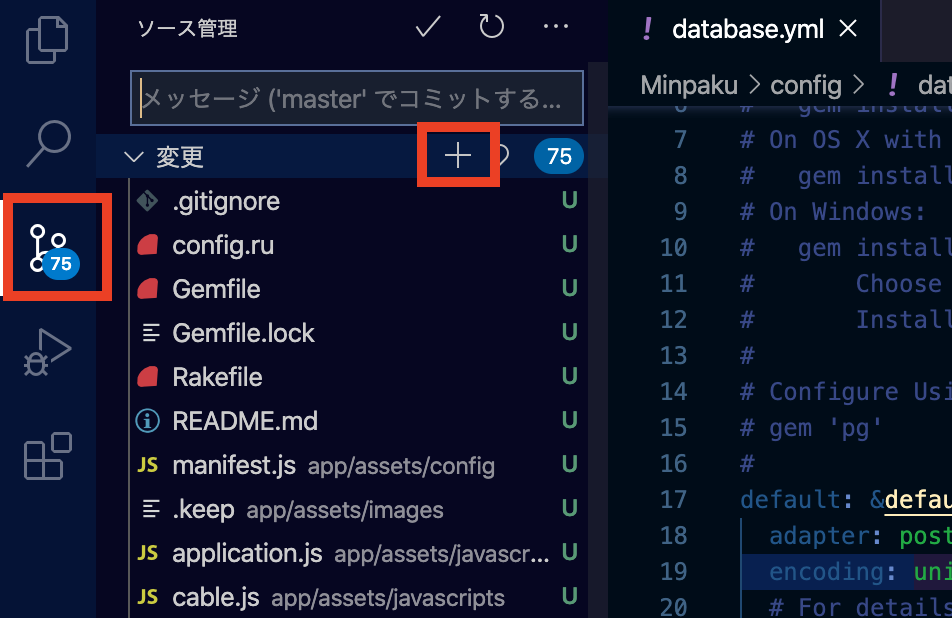
コミットネームを入れます。
コミットネームは自分で分かりやすい名前をつけて下さい。
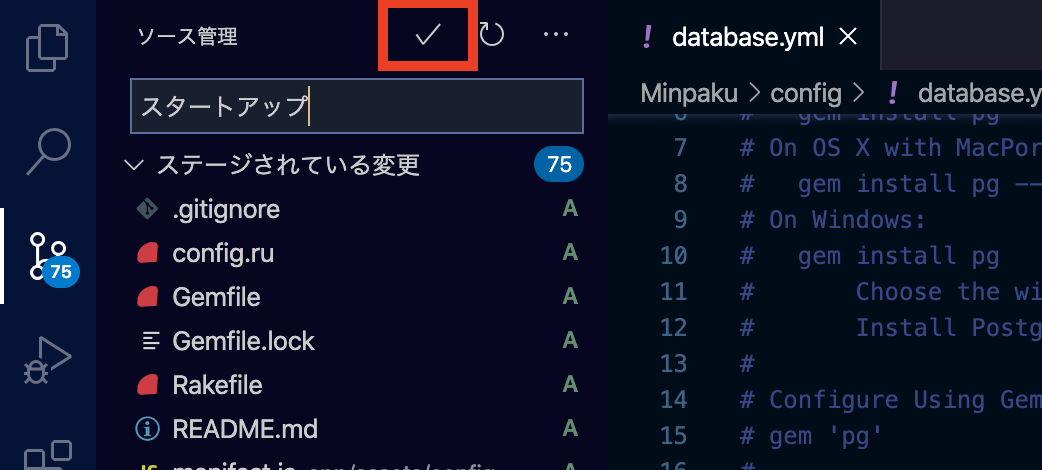
上のチェックマークをクリックしてコミットします。
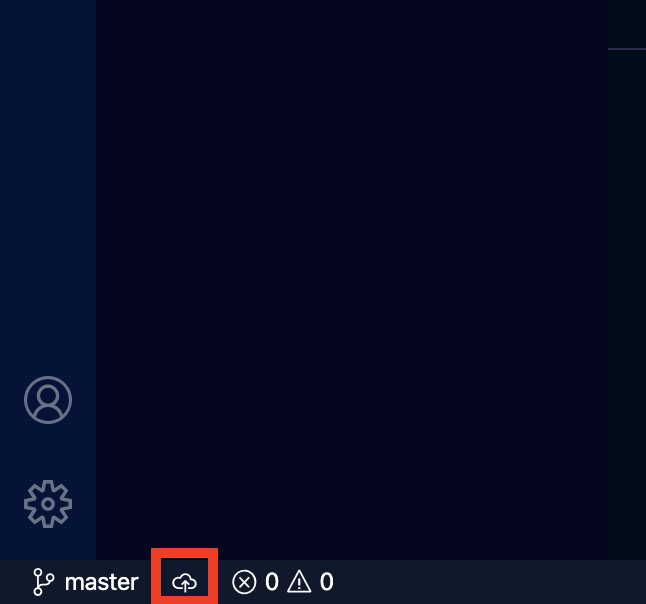
下にある雲のマークをクリックしてGitにpushします。
自分のgithubページ「https://github.com/asakimi/MacOshigoto.git」をリロードして確認します。

↓↓クリックして頂けると励みになります。